Tail 1
Tail page 1
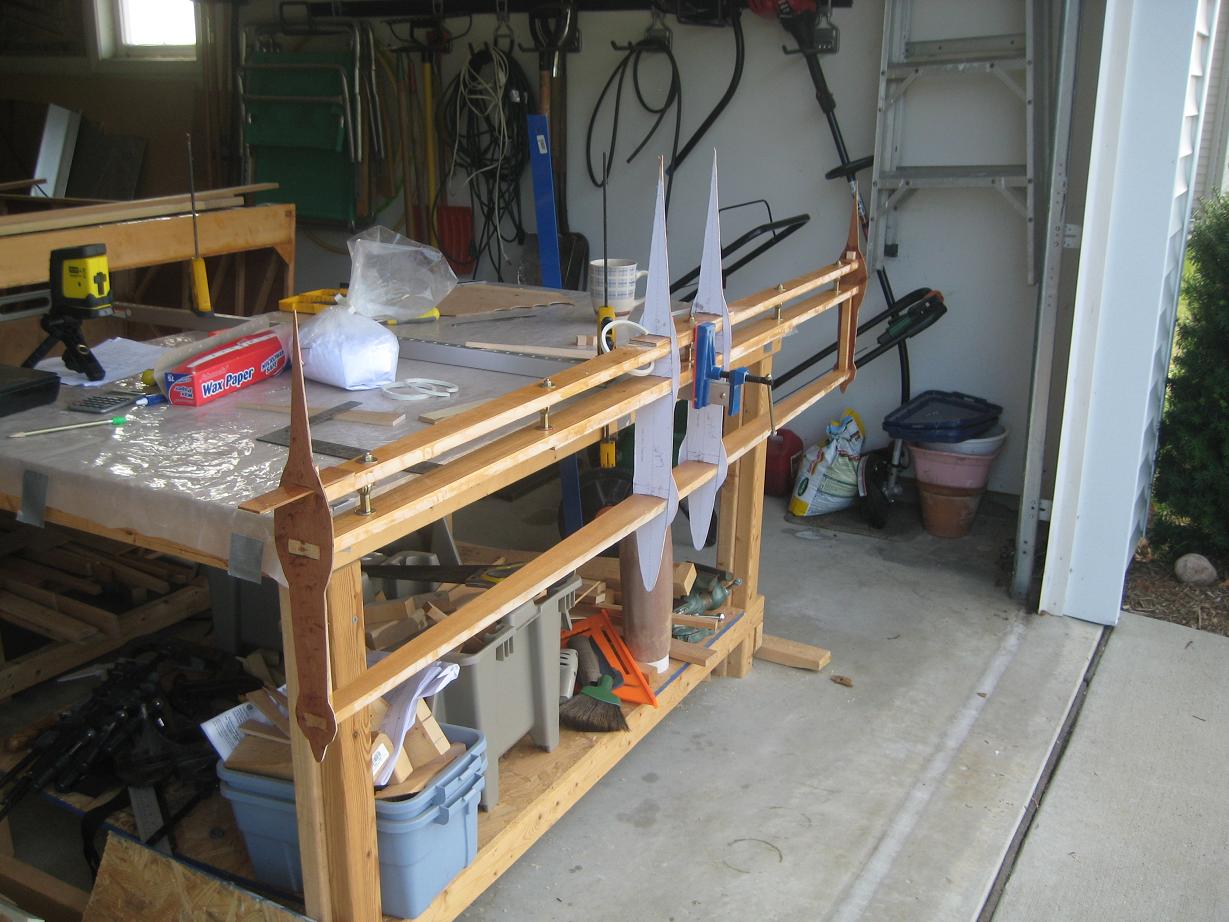
Below is the skeleton of my horizontal stabilizer. I'm using five "Dr. Dean" style rod end bearing hinges to attach the elevator to the stabilizer. These are wonderfully simple to install. I'm also using Mark Langford's airfoil templates for the horizontal stabilizer. For the vertical stabilizer, I'll follow the plans design.
The rod end bearings have been strongly loctited onto their bolts.
The extra 14" I've added to the length of my fuselage should theoretically have the same effect of taming "pitch sensitivity" as would lengthening the horizontal stabilizer. So, I've only added about six inches total to the stock length of the H.S.
I've also put 3" extensions on each tip of the horizontal stabilizer. These will become balance horns for the elevator.
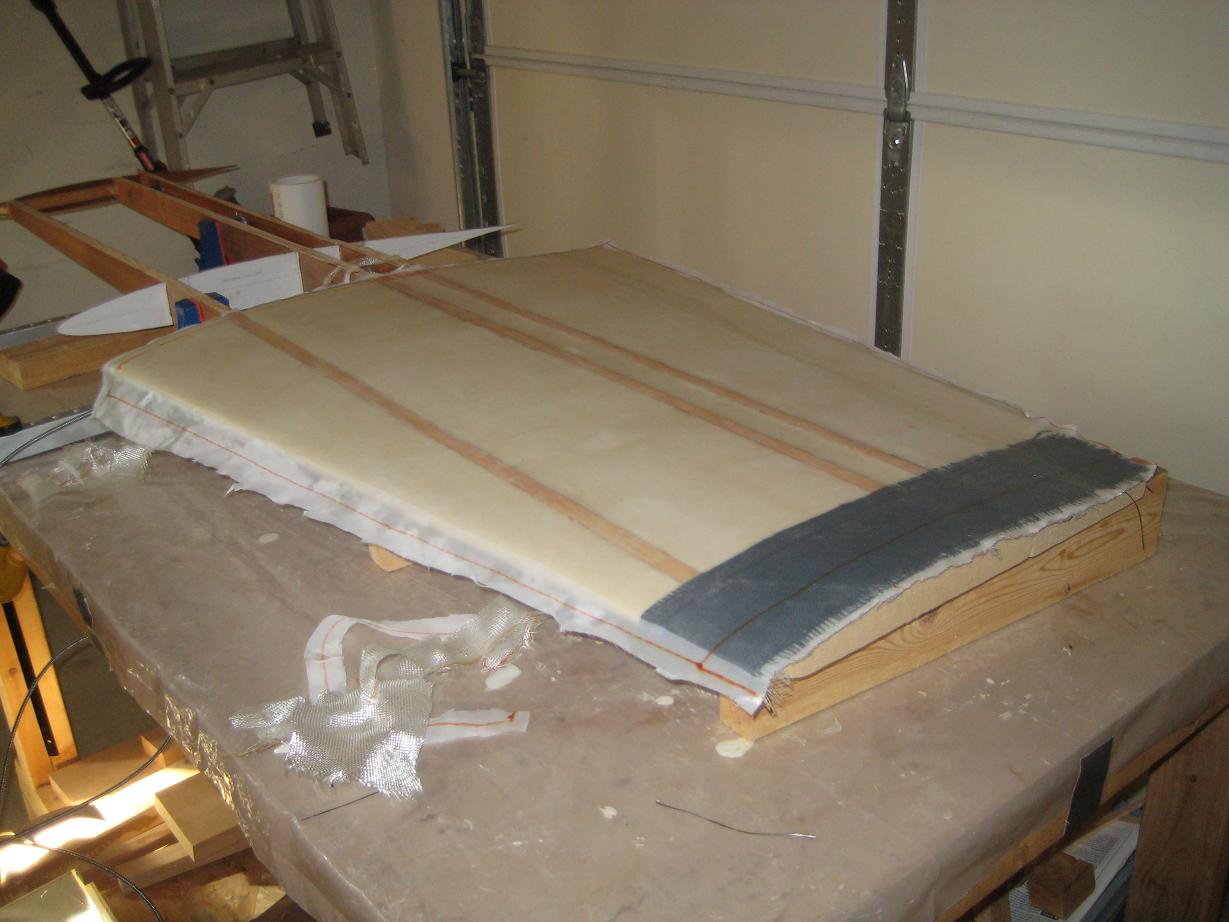
Above, I've fiberglassed the top of one side of my horizontal stabilizer.
I've never fiberglassed anything before. To me, this is like shifting from shop class to home economics. The materials are totally different and I had to learn some patience with them. I found that getting the foam to fit correctly in all the slots before sanding was more tedious than the actual glassing.
I used a combination of dry micro and "Instafoam" two part expanding foam to lodge the foam firmly in place before sanding.
Sanding the foam down to the airfoil templates was accomplished using a 4" PVC tube with sandpaper spray-glued to it.
The black area on the tip of the stabilizer is a 4-1/2" wide strip of carbon fiber, which will add strength to what will become one of the elevator balance horns. Over this, and covering the rest of the stabilizer and elevator, is one layer of "KR cloth." On top of everything, I'm using "peel ply" to get the seams and the finish as smooth as possible before final micro-ing and sanding.
I'm using Aeropoxy for all my glassing.

Above, the horizontal stabilizer/elevator unit is now completely fiberglassed and hanging in the garage for the winter of 2013-14. As soon as it gets warm in the Spring, I'll cut the elevator and balance horns out and complete this assembly.
The bi-directional weave fiberglass on all the wing/tail surfaces is cut with its weave "on the bias," at 45 degrees, for strength. You'll notice that I've spread a little dry micro on one side of the horizontal stabilizer--I just had to see what I was in for when it comes to sanding all this into a nice final product. It's going to be a lot of work, but the results will obviously be rewarding.
Before glassing, I cut out about 1/4" inch of foam along the whole trailing edge of the elevator, and laid a bead of flox along the length of the edge. Flox is a mixture of epoxy and cotton fibers which hardens like granite. This makes the otherwise fragile, thin trailing edges of the airfoil surfaces very strong.
For glassing, I first poured liberal amounts of "wet micro" or "slurry" onto the bare foam and spread it thoroughly across the surface of the foam with the edge of a fat popsicle stick. Micro refers to a mixture of micro-balloons with epoxy. Micro balloons are glass beads so tiny that they feel like talcum powder in your fingers...very bad to breathe into your lungs. You mix the micro-balloons with epoxy till it's about the consistency of honey. Spreading slurry over the foam serves to seal the foam and prevent the bubbling up of trapped air from the foam after you've glassed. The wooden spars are covered with pure epoxy before glassing.
After slurrying the foam, I laid the glass on and wet it all out with pure epoxy. Peel ply over the top of everything helped suck up excess epoxy and contributed to a pretty nice, smooth surface when cured.
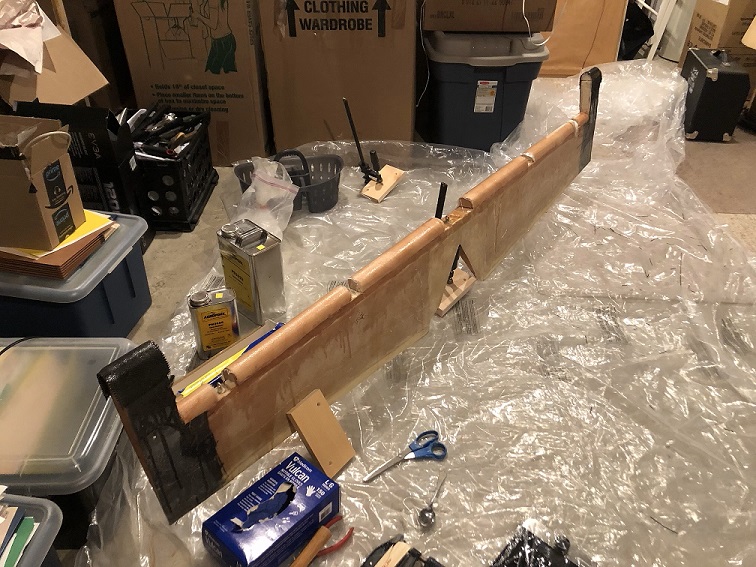
Notice the Bowden cable sticking out of the horizontal stabilizer. Following Sid Woods' experience, this Bowden cable will travel all the way from the trim tab on the elevator to a lever in the cockpit. This is how I will actuate the trim tab. Right now, the cable is floxed into the horizontal stabilizer, but is loose where it protrudes into the inner foam of the elevator. It should slide out pretty easily when I cut the elevator out.
Above, I've cut the elevator out, foam-formed the leading edge leaving gaps around the hinges, and covered the leading edge with glass. The balance horns are covered with carbon fiber for added strength and rigidity.

Above, I've cut out the trim tab, floxed its "hinge" tube in place, and rounded its leading edge. I still have to sand down a lot of instafoam.
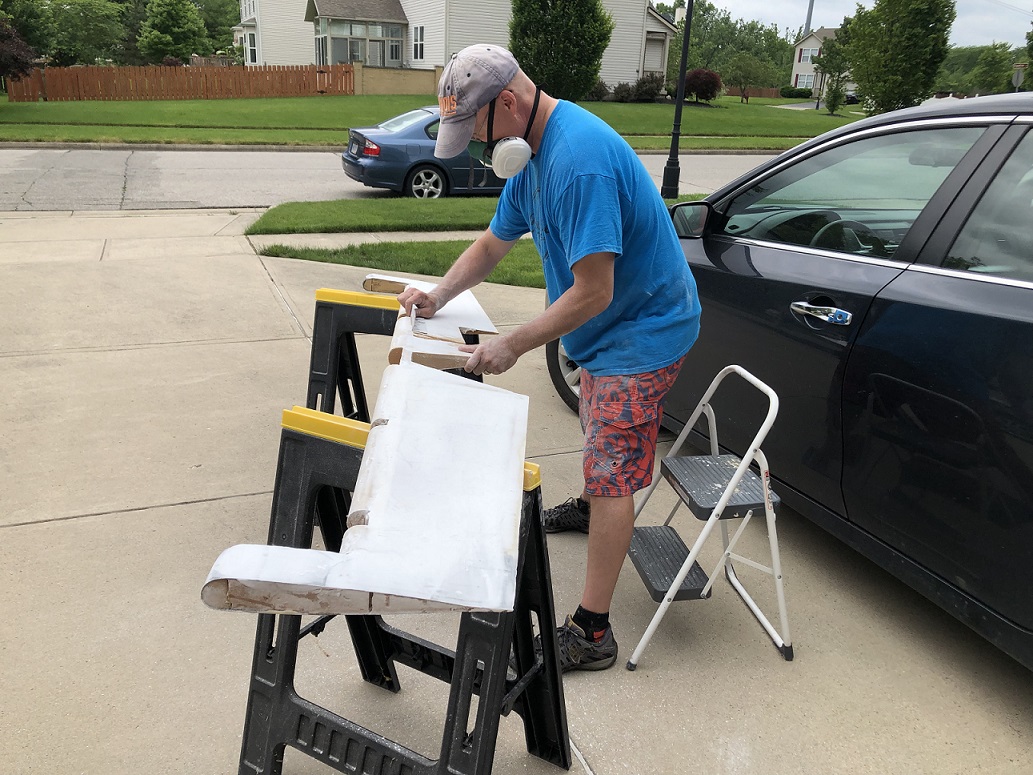
Above: Before mounting my tail airfoils, I'm finishing the elevator (top and bottom) and horizontal stabilizer (bottom only) with micro, to make things easier later. It's good technique training for the upcoming big micro sanding-finishing jobs.
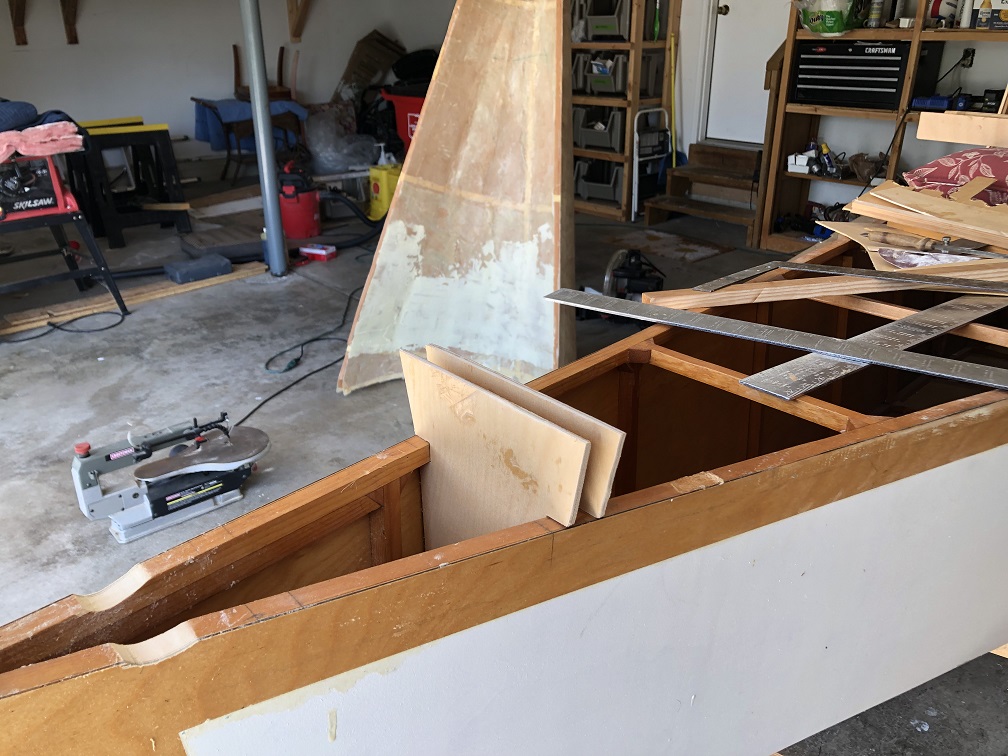
Above, I've fit the forward horizontal stabilizer mounting webs into position (but nothing's glued yet). Soon I'll be epoxying the HS into place. Note the grooves I've filed into the longerons towards the sternpost to allow the elevator to travel down 20 degrees.