Canopy
Canopy
Received my canopy from Todd's Canopies in July, 2014. Shipping from Florida to Illinois costed almost as much as the canopy itself! There's no going back now--I have to finish the plane or I will live in perpetual shame...not to mention being in the dog house forever with my wife. The canopy is beautiful and Todd is very friendly and helpful.
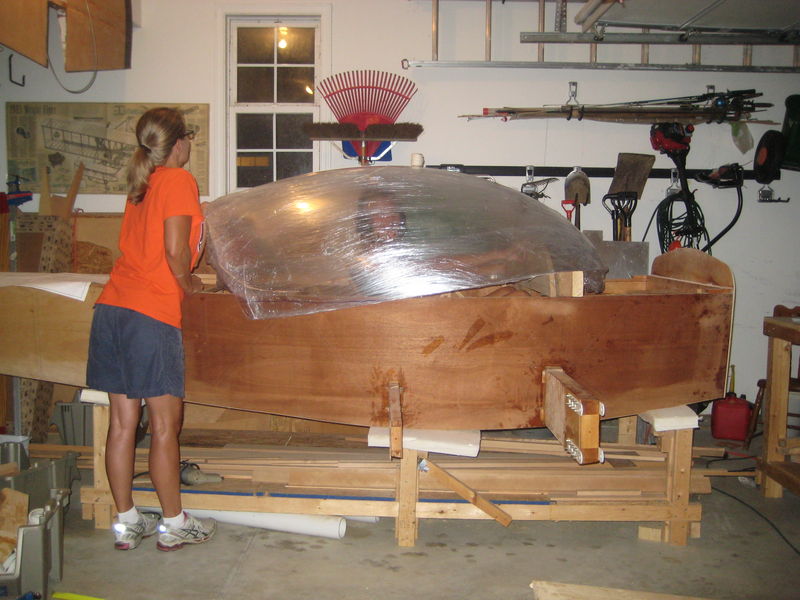
Below, I was trying unsuccessfully to get a sense of how the canopy would look on the fuselage. My wife is holding up the back of the canopy so it doesn't hit my son in the head. Since my son is my height right now, I had him sit in there with a headset on. It helped determine what kind of head clearance I'll need, both upwards and sideways.
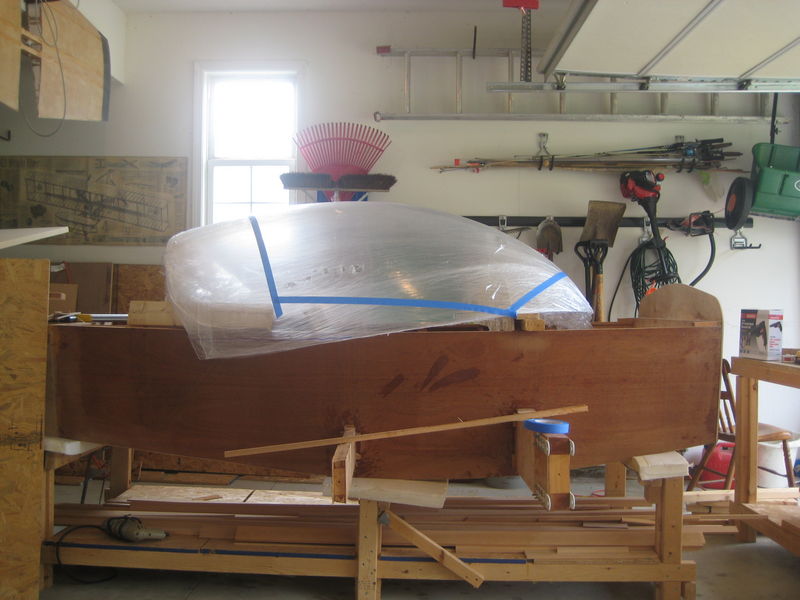
Above, it's getting a little closer to what it will look like. I've clamped a temporary plywood dashboard into the cockpit, directly above the forward spar. Shooting a laser dot from the top of the firewall to the top of the dashboard through the canopy gave me a general idea of where the front of the canopy will be cut. I also ran a string from the top rear of the canopy to the back of the fuselage to get an idea of how the canopy will blend with the "turtledeck" (the area that slopes back from the top of the canopy towards the tail).
Most importantly, this rough fitting enabled me to determine where the front canopy hinge will be located on the fuselage. I've decided that my canopy will lift straight up and forward. Most KR canopies are hinged on the side, but I simply feel a little better with a front hinge when I imagine the canopy coming open in flight.
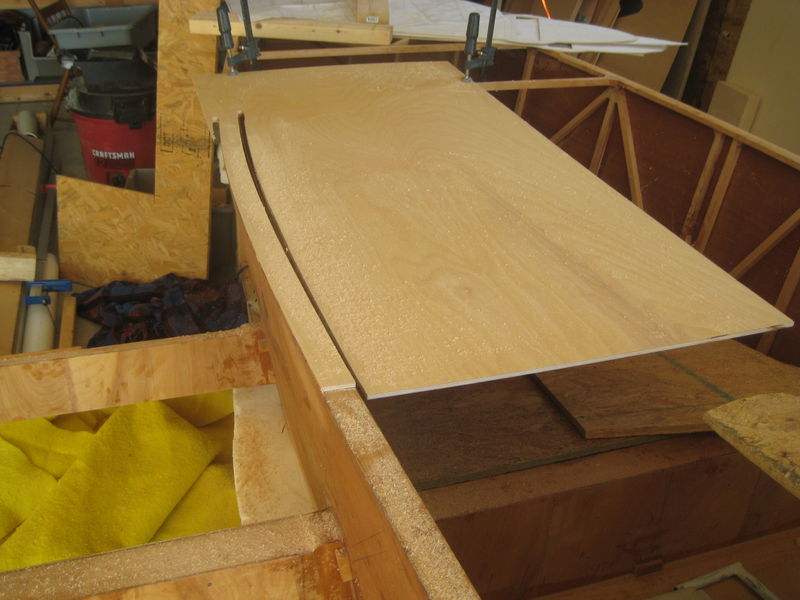
The canopy plexiglass bottom edges will sit on top of 1/4" plywood planks. Here I'm routing out the planks to perfectly fit the contour of the longerons. The plywood planks will not actually sit right on the longerons, but will be lifted up and tilted forward at an angle down to the forward hinges.
Above, I've epoxied 5/8" square spruce rod to the top of the plywood planks. Notice, the rods conform to the curve of the longerons. Getting them clamped to the ply under the stress of bending while slippery with T-88 was like handling snakes but I was prepared.
The rods are doubled in front where they will be bolted to aluminum straps. The straps, in turn, will be attached to the front hinges. The canopy will fit around the outside of the rods (you can see the 1/4" slot around the outside in the picture), and sit on top of the plywood. I'll be able to bevel the rods as necessary to get good contact with the plexiglass.
First I'm going to T-88/flox the plexiglass directly to the wood. Then I'll reinforce everything with carbon fiber in high stress spots (basically the whole foward half of the frame) and regular fiberglass everywhere else.
NOTE: The above did not exactly work--the plywood rails bowed due to the stress of the bent spruce (should've foreseen it).
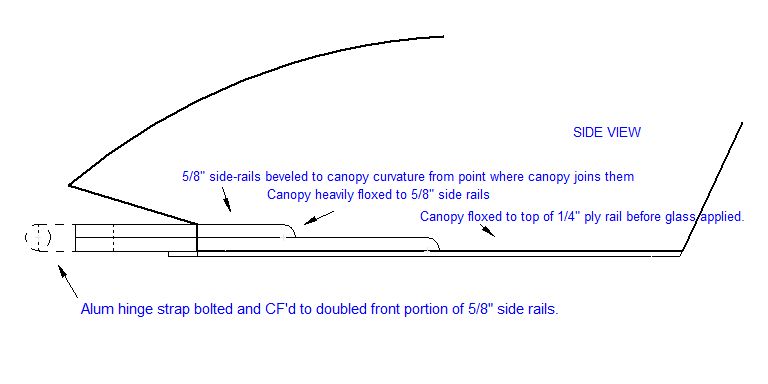
Above is a NOT TO SCALE side view of the way I ended up attaching the canopy to the rails and front hinge extensions. It took a lot of fiddling, with the canopy resting on the fuselage, to get the 5/8" extensions beveled to fit the angle of the plexiglass while ensuring the extensions protruded forward into their fuselage mounting points properly.
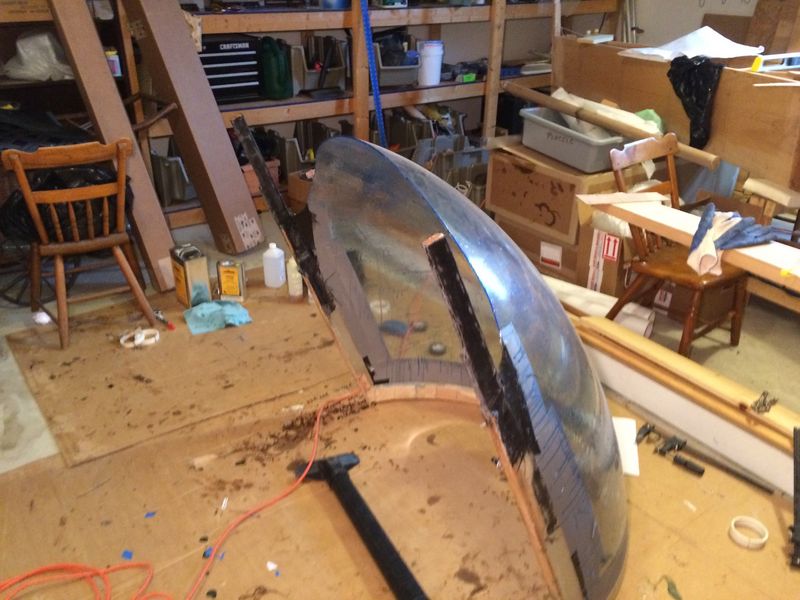
Above, the front hinge extensions (the horns) have been reinforced with two layers of carbon fiber. As you can see, I'm starting to build up the entire front half of the canopy with CF; the rear half will be built up with fiberglass tape and foam. My original plan was to use aluminum tubing as the canopy frame (like Herbert Fuhrle's). The tubing would be fitted to the plexiglass with an expensive product called "sika flex," which is popular among RV builders. However, I ended up going with materials I had on hand. A protective water-based coating has been applied to the canopy, making everything look like a mess. It's like thin plastic and peels off pretty easily. Though you can not see them in this photograph, attach points for gas struts have been floxed, screwed, and CF'd to mounting blocks on the canopy frame.

Above: BASIC CHANGE IN PLANS FOR THE CANOPY. I've happily copped out and decided to go with a side-hinged canopy after all. My forward-hinged carbon-covered spruce design would have been fine. However, after considering...
SIMPLICITY:
- no extra work cutting and shaping the front deck to make the canopy horns fit (a month or two less work)
- a stronger arch support for the large fuel tank provided by an uncut front deck
- much easier removal of front deck
and LIGHTNESS:
- no extra weight with attach points, aluminum fittings, and pneumatic lifting tubes
...after considering these factors, I went ahead and chopped the horns off. The canopy already swings perfectly on the hinge. Of course, the downside is that I may be sacrificing a degree of safety.
Next, I need to do a little cutting to make it sit on the front deck right. I've temporarily removed the protective film from the canopy...I didn't trust that water-based coating. I'm going to protect it with 4 mil plastic sheets and tape instead. As you can see from the picture, I also had the pleasure of seeing how the front deck, canopy, and turtledeck flow together. Suddenly the plane is starting to show its unique character. I do like it, from every angle. The mess of micro dripping down the sides of the front deck was a morning surprise--I thought that batch was going to be thick enough to hold to the sides of the front deck.