Wings 5
Wings page 5
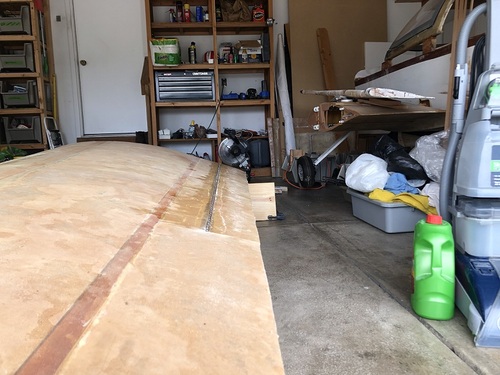
Below (October 24, 2016): The bottom-side wing root fillets are pretty much done. Time to turn the plane back upright. It will remain upright for the winter of 2016-17.
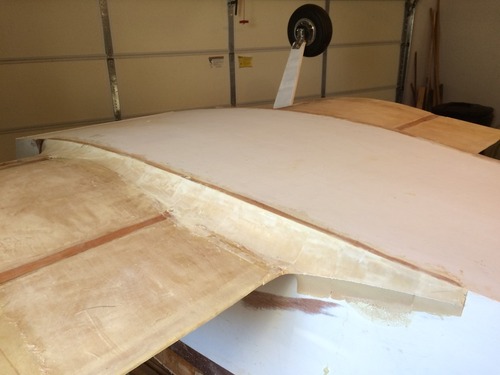
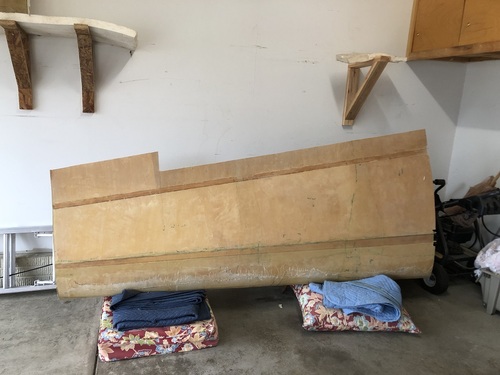
Above, I've cut out the ailerons.
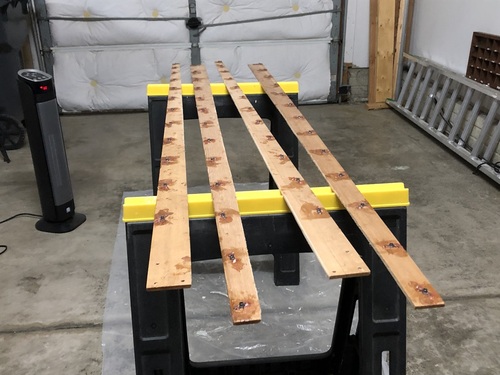
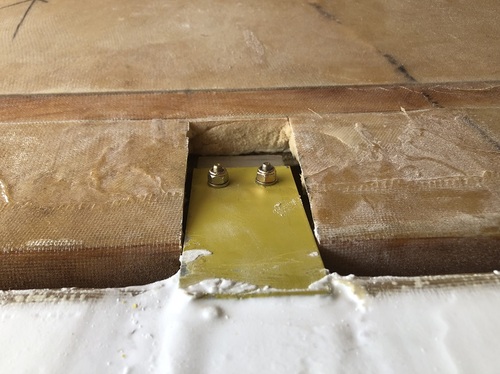
Above, I've floxed 50 anchor nuts on the inner sides of the aileron spars. Obviously I never got the hang of this and used a ridonkulous amount of flox. But I'd rather have too much flox than to screw the aileron hinges into these and have them come loose, and not be able to get to them.
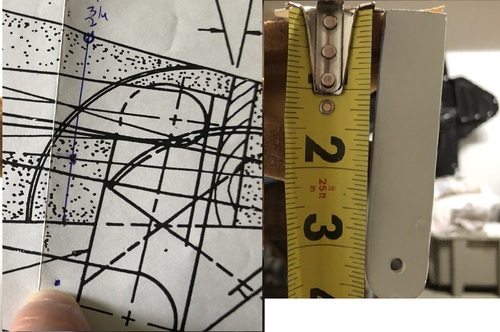
Above is something you might want to be aware of if using the 5048 airfoils. On the left is the profile of the RAF48 foil from the plans. The line I've drawn represents approximately where the aileron is cut from the wing, and my finger is pointing close to where the aileron horn attach point is supposed to be. The distance from the aileron hinge to the attach point on the horn comes out to about 2.75". On the right is one of my actual 5048 ailerons. I made the aileron horn to fit the fatter airfoil, but now realize that the attach point on the horn will be about 3.25" away from the hinge. With the longer arm between attach point and hinge, I figure significantly more stick action would be needed to make the ailerons reach their "Trailing Edge Down 10 degrees / Trailing Edge Up 20 degrees" limits. So, I'm going to have to think about drilling new attach point holes in the horns about 1/2" up from where they are now, to bring it closer to the plans arm distance. I'll have to see whether having the attachment farther up the horn would create interference between the actuator and the aileron.
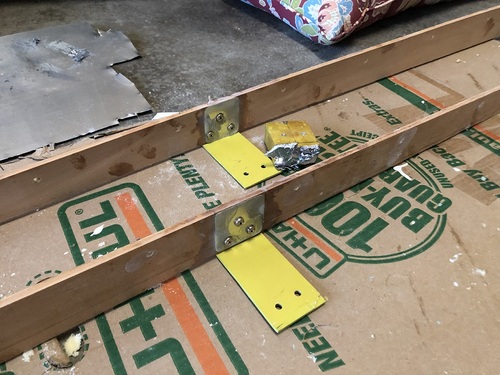
Above, I've attached the aileron counterbalance holder plates to the aileron spars with pan-head screws. You can see I've beefed up the area with thin aluminum plates. I'm going to put washers under the pan heads. Even though they protrude, I don't think they'll interfere with the ailerons' range of motion. The plans say to use pan-heads, and I can see why. These need to have a strong purchase because of the weight they'll bear. I'm using aluminum for the holder plates. Some people go all out and make them out of steel.
You can also see one of the counterbalances, fresh after pouring the lead into it. These will be filed neatly. I designed the weights to stick as far forward as possible without hitting the rear spar of the wing when the aileron is at maximum downward angle. I'll make them a little more "aerodynamic" with foam and glass once they're installed. My hope is that once I balance the ailerons (with micro applied), I'll be able to cut a section of the balance weights completely off their rear side. They'll be attached to the holder plates with two bolts each, driven up through the lead.
These weights are important and you've got to check them regularly. Some have broken off. A pilot in South Africa recently died because his airplane's ailerons were incorrectly balanced, I guess from the start. At high speed, one of his ailerons began to "flutter" so violently that the main wing spar broke under his seat. That's the only time I've heard or read of a KR's spar failing.
I've also packed the four aileron spars' hinge-holes with foam, so that when I glass them into the ailerons and wings, epoxy won't seep down into the anchor nut threads.
Above, the aileron spars have been glassed in, and the counterbalances have been installed. I'll add foam and glass so they'll be flush with the underside of the wing when the ailerons are in neutral position. As you can see, the bottom of the aileron is covered with a lot of unsanded micro.
Above, the aileron is hanging loosely on the hinge from the wing. It's perfectly balanced for now. The underside of the ailerons is covered with a lot of unsanded micro at this point. So, I figure that in the end, after sanding and painting, the ailerons should remain pretty well balanced. It won't be hard to add or subtract weight as necessary to make them right.
